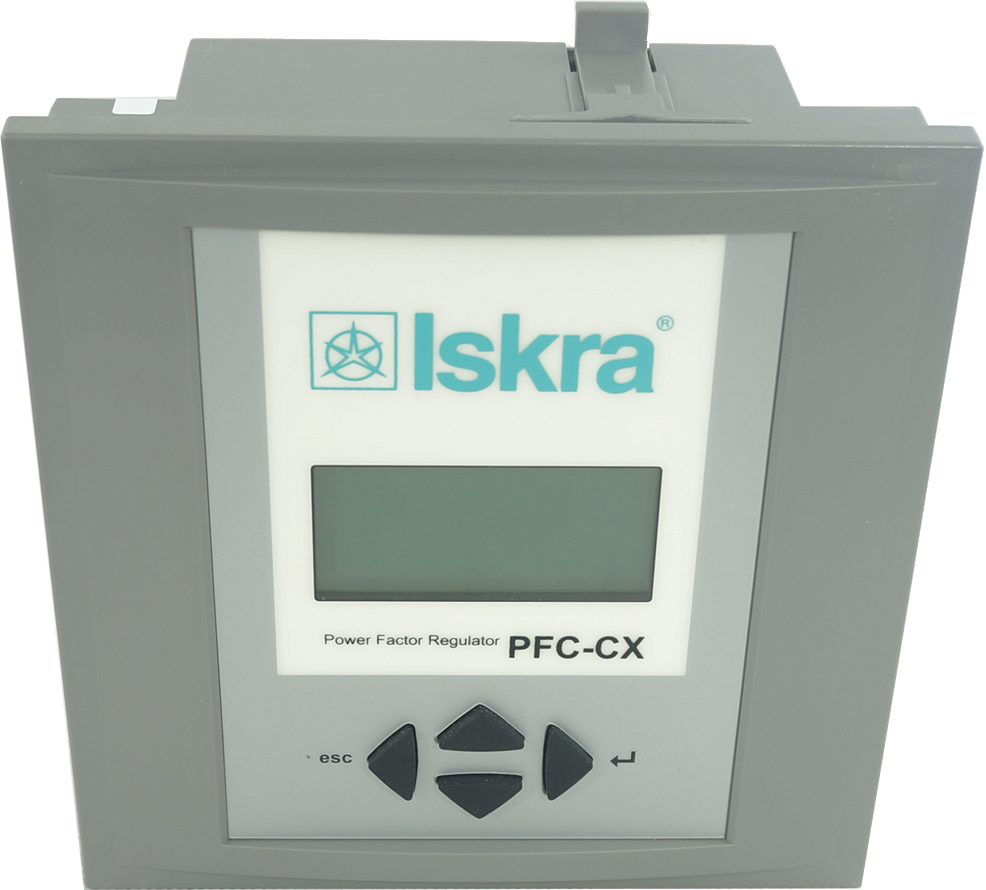
Setting up Beluk BLR-CX6R,BLR-CX12R,BLR-CX14R/BLR-CX6T,BLR-CX12T,BLR-CX14T, Vishay Estamat PFC-6N, Estamat PFC-12N, Estamat PFC-14N, Iskra PFC-CX6R,PFC-CX12R,PFC-CX14RR
Setting up Beluk BLR-CX6R,BLR-CX12R,BLR-CX14R/BLR-CX6T,BLR-CX12T,BLR-CX14T, Vishay Estamat PFC-6N, Estamat PFC-12N, Estamat PFC-14N, Iskra PFC-CX6R,PFC-CX12R,PFC-CX14RR
This Blog is intended as a quick start guide on how to setup the following PFC Controller models (which are rebadged Beluk Brand). This not intended to be a complete guide and its to be used in conjunction with the Original Beluk User Manual
- Beluk BLR-CX6R,BLR-CX12R,BLR-CX14R/BLR-CX6T,BLR-CX12T,BLR-CX14T
- Vishay Estamat PFC-6N, Estamat PFC-12N, Estamat PFC-14N
- Iskra PFC-CX6R,PFC-CX12R,PFC-CX14RR
Setting up the controller
Note: the controller only requires the correct voltage input in order to begin control. However it is recommended to add CT ratio, and any VT ratio if applicable.
Default Password/PIN number
The default password/PIN number to access advanced functions is "242". If you have already changed the PIN code you will need to find it or try each code one by one for a possible 1000 combinations.
General Settings
Press Down Key until you see setup on the display. Press enter key and you will see a number 100 displayed which is menu 100. Press up and down to scroll through the menu settings. You can adjust the voltage scaling and by pressing up and down you will scroll through the current default settings.
Setting the CT Ratio
Access the measurement menu by pressing the down arrow until you see setup on the screen. Press enter to enter the setup menu. Press down and you will be asked to enter the PIN Code which is default set to "424".
Once in the setup menu, scroll to CT and press enter to change from 1 to 6400 ratio. For Example 1000/5 will be simply CT ratio = 200.
Setting The PT Ratio
Access the measurement menu by pressing the down arrow until you see setup on the screen. Press enter to enter the setup menu. Press down and you will be asked to enter the PIN Code which is default set to "424".
Once in the setup menu, scroll to CT and press enter to change from 1.0- to 350.0 ratio . For example 1kV/400V will be simply VT ratio = 2.5.
Configuring Steps Automatically (Step Recognition)
In most cases Step Recognition can be used to automatically detect the kVar steps. The steps will be detected when you run the normal Ai
- This is Normally only recommended for new or healthy installations.
In order to allow for auto detection, enter into Menu 300 and scroll down to 308 and select "NO" to allow for automatic detection of steps and future capacitor failures will be detected.
Once complete then you will also want to access the setup menu "100" and make sure "ai" (auto-initialization) is set to "YES". This will allow the controller to run through each step test and then will remember the kVar ratings and store in memory for future fault diagnostics.
Note there are other important parameters to configure in Menu 300 in particular the sensitivity for the controller to action and switch in steps

Configuring Steps Manually
Steps may need to be configured manually if step recognition does not detect correctly.
The situations where this may be required include:
- 1. Fast Oscillating Load Influences the Step Recognition
- 2. When Capacitor Contactors are switching with delay of more than 200mS
- 3. When Recognition of Defective Steps is to be avoided
In order to set the steps manually you can follow the instructions below

For any specific questions feel free to contact Fastron

