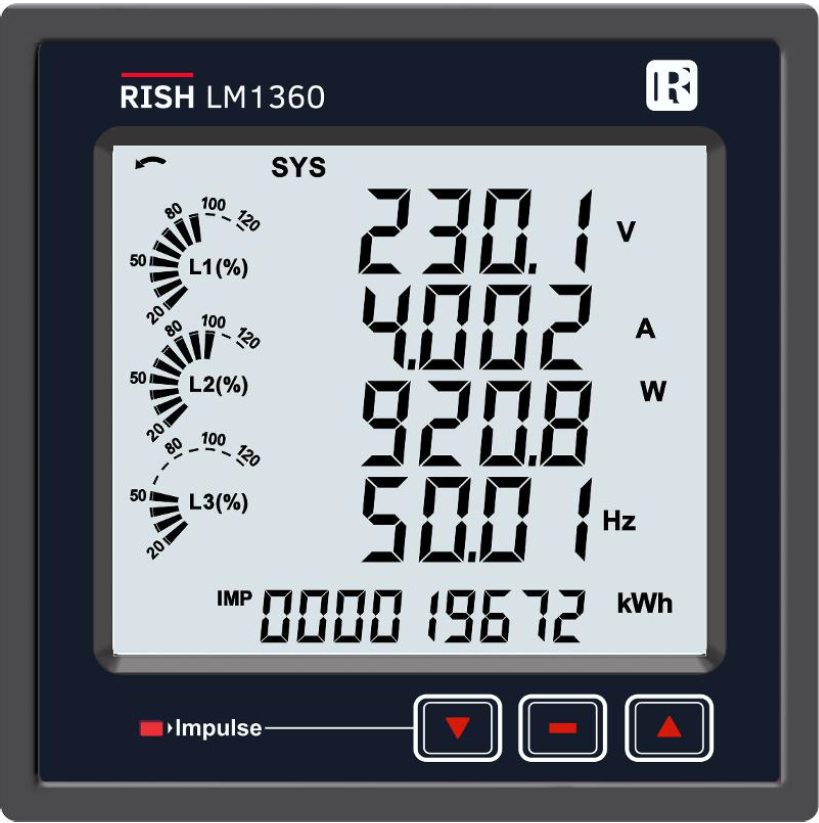
Accessing Rishabh LM1360 Meter data with Marc Free Rishabh Software
Accessing Rishabh LM1360 Meter data with Marc Free Rishabh Software
In this blog we cover setting up the LM1360 meter for data logging and Data Extraction over USB or Ethernet
Common steps for both USB and Ethernet IP models
1) First step requires the user to set the meter to log data.
Refer the operating manual to configure the settings for activating the Data-logging function in the units. Please refer below links and details for the same: Manual:
- User Manual Link (Fastron Server)
- User Manual Rishabh Server Link
- Modbus Interface Definition Download
- Website Path: Go to rishabh.co.in - Products - Multifunction Meters - RISH LM 1360 / 1350 -Load Manager - Manual - LMXX_REV_F_1_or_F.pdf
- Refer section 3.2.6 and program the units accordingly.
- Rishabh USB Connection Guide
Note for best results for testing we recommend to set the data logging to time based, 1 minute intervals and set at least 5-6 parameters.
Note there is not need to begin logging to test the meter communications. There will be no data to extract without enabling the data collection. There will be clear indication of established communication as shown here with 5 dots spinning while data is loading.

2) Software Installation
Please download the MARC Software from the web media using below link:
- Marc Software Download (Rishabh Server)
- Marc Software Download (Fastron Server)
- Website Path: Go to rishabh.co.in - Products - Accessories - marc Configuration Utility - Software Link : marc Configuration Utility
3a) Connecting via Mini USB to USB Male Cable
(i) First ensure the USB cable you are using is working for data access. We suggest to test it with your mobile phone to see that you can access and transfer data.
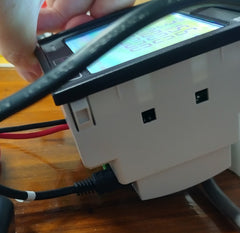
(ii) Power up the LM1360 and connect the USB cable to the meter and to the Computer running windows 10 or higher. You should hear a windows USB Connection beep and you will find a new connection in Device manager under Ports (COM & LPT) - USB Serial Port COMX) with X being the COM port number.
IMPORTANT POINT!!!
(iii)Ensure that the USB cable is not being pressed against the table/desk as I was experiencing this issue. We suggest to arrange the meter face down with the Micro USB cable unflexed.
THIS MADE ALL THE DIFFERENCE IN OUR CASE!!!

(iv) Setting the LM1360 Meter Logging Settings
Ensure the real time clock, and all parameters are set correctly (See section 3.2.6 of user manual - PDF page 57 ), then to start the logging of data, make sure you set the Even Based Data Logging or Time Based Data Logging to YES. See section 3.2.6.1.1 & Ssection 3.2.6.2.
4) Communication Settings
Now you need to set the COM port setting in the device manager, the marc software, and the LM1360 Meter

For Device Manager , Marc Software set the following
- Communication Type: Serial Communication
- Com Port : X (In our case as in the images image it was COM2)
- Baud Rate: 57600
- Parity: None
- Data Bits: 8
- Stop Bits: 1
- Flow Control: None

Note: the LM1360 Setting must match above setting where applicable. (Parity, Baud Rate, Stop Bits)
You will get the window below.

5) Operation: Select READ
Category: Select Multifunction Meter with Data Logger
The following window will pop up.
Select time based
Enter the device ID (default is 1). You can double check the communication setting again.
Select Go. you should start to se the moving circles and the blue progress bar will slowly appear as the data is collected.
Note you will also get the pop up advising you to set the Baud rate to 57.6K regardless of what settings you have made so please ignore the message.

IMPORTANT NOTE!!!
6) Still can't connect to serial port?
Please re-check all the settings again in the meter, the Marc software, and device manager. also you can try a new USB cable. In some cases the port used by the USB Serial Connection can be in conflict with another device even though Device manager shows it as a free Com port. We suggest to try to use COM2 (preferred) or any other free ports and try to check there are no unseen conflicts in the computers communication bus.
7) To Export The Data
Select Export to Excel and Choose the Export location
8) IP Based Meter
Follow the same as above however you will select Ethernet/IP communication and enter the correct IP address and subnet mask as has been setup in the meter. Once complete you can follow the same steps in 3b)
For complete configurations settings for setting up LM1360 IP Enabled meter, please refer to the user manual in the top download link and our blog on IP settings for LM1360 meters
For further clarification of support please contact our friendly sales team as Fastron Electronics

